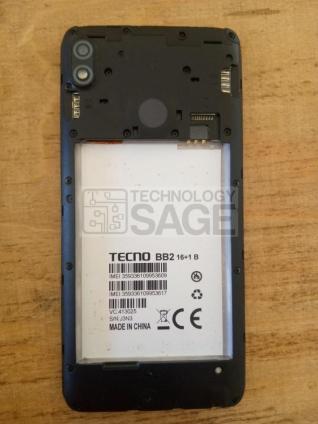
Hello guys. I hope you are doing great. Welcome ones again to technology sage. Your number one tech website. For today’s article, I am going to show you how to bypass FRP or simply Google account lock on Tecno POP 3 BB2 . But still, if you are using Just Tecno pop 3, still this process is going to just work fine for you. You can also read our earlier article on How To Fix SUPPORT API 3 Problem on INFINIX X559C
Google account lock or FRP lock is usually set by Google to protect the wrong usage of a stolen Android smartphone after a hard reset which almost anyone can do these days. I am not going to take you into so many stories, so I will take you directly to a step-by-step procedure on how to remove FRP on Tecno POP 3 BB2 using Miracle Box with DA Files. Walk with me to the procedure below.

How to Remove FRP on Tecno POP 3 BB2 Using Miracle Box With DA File
Now, before you proceed any further deep into this article, there are some of the requirements you will be required to have for you to successfully learn How to Remove FRP On Teno POP 3 BB2 Using Miracle Box with Da File. They are as follows:
Read Also: How To Flash Tecno S1S Using Miracle Box
- Windows computer with OS not later than windows 7.
- Miracle box software installed and working.
- MTK VCOM drivers preinstalled.
- Tecno Pop 3 BB2 DA FILES. Download Teno POP 3 BB2 DA FILE here.
- USB DATA CABLE.
- Technical computer know-how.
Now, having the above requirements, follow the steps below on How to Remove FRP On Teno POP 3 BB2 Using Miracle Box With Da File.
Step 1
First, Download Teno POP 3 BB2 DA File from the link provided here. Extract it on your Windows PC. To extract these files which are in the zip file, you need to have WINRAR or 7 ZIP software installed on your Windows PC. Inside the extracted folder you will see the Tecno pop 3 DA File. Now proceed to the next step.
Step 2
Now, after you have downloaded and extracted the FRP DA files go to your Miracle box software and launch it. It might take a while but not so long for Miracle Box to launch. In this tutorial, I am using Miracle Box version 2.82. After Miracle Box is launched successfully, on the dashboard, click on MTK because this phone is an MTK chipset phone.

Under MTK, click on “Custom Setting” as shown in the screenshot above.
Step 3
Under custom settings, click on the DA FILE button; navigate to the folder where you extracted your Tecno pop 3 FRP DA FILE. Open the folder and click on the DA FILE then click on the” OPEN” button to load the DA File on Miracle box.

Step 4
After having finished the above step, now click on the “Unlock/Fix” button, select “Clear Setting/FRP” Then now down, click on the “START” button.

Switch off your Tecno Pop 3 smartphone; connect it to the computer via USB data cable. Miracle Box will detect your phone and clear FRP settings. After that, disconnect your phone from the computer, and then hard reset it. Now after doing a hard reset, you can power your phone up and finnish setting it up. Remember you MUST hard reset it after bypassing FRP.

That is, it Guys. If this article has been so helpful to you, kindly remember to subscribe to this website for more articles. You can also follow us on social media handles and also watch our exclusive videos on YouTube. Until we meet again in the next article, bye.


